This guide walks you through the steps required to successfully install and configure Blitzz Visual Assist for HubSpot so you can launch video support sessions directly from HubSpot.
Table of Contents
- Step 1: Install the Blitzz Visual Assist app
- Step 2: Enter the Domain Key
- Step 3: Customize the Blitzz Visual Assist app view
- Step 4: Test the Blitzz Visual Assist integration in HubSpot
- Step 5: View Blitzz Session History
Step 1: Install the Blitzz Visual Assist app
Log in to the HubSpot Admin Portal and navigate to the HubSpot Marketplace.

Search for Blitzz Visual Assist and install it from the Marketplace.

Step 2: Enter the Domain Key
Navigate to Connected Apps.

Select the Blitzz Visual Assist app.

Click on the Settings tab.
Click the Configure Domain Key button.

After clicking the button, you will be redirected to the Blitzz configuration page.
Enter your Blitzz Domain Key in the provided field.
Click Connect to complete the setup.
Note: Your Domain Key is provided by Blitzz during onboarding. If you don't have one, contact your Account Executive or support@blitzz.co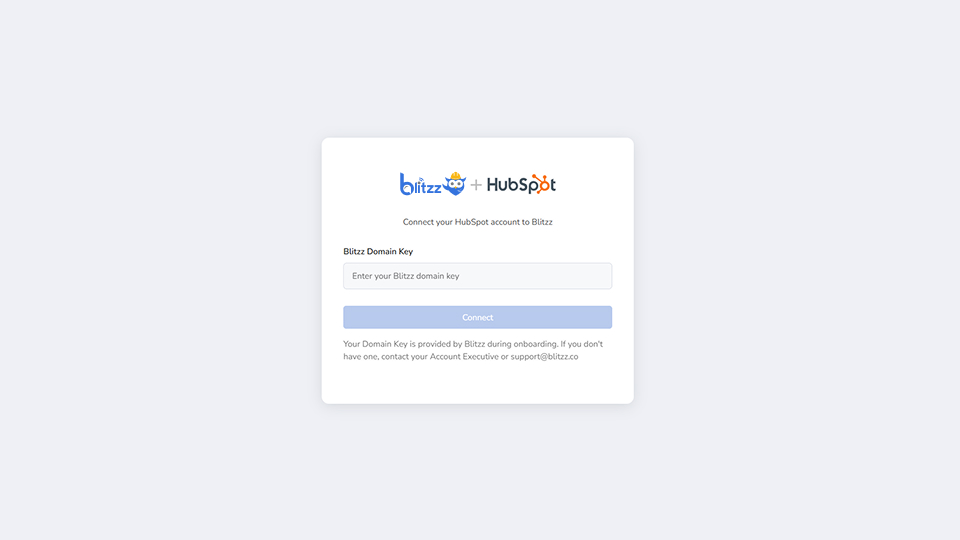
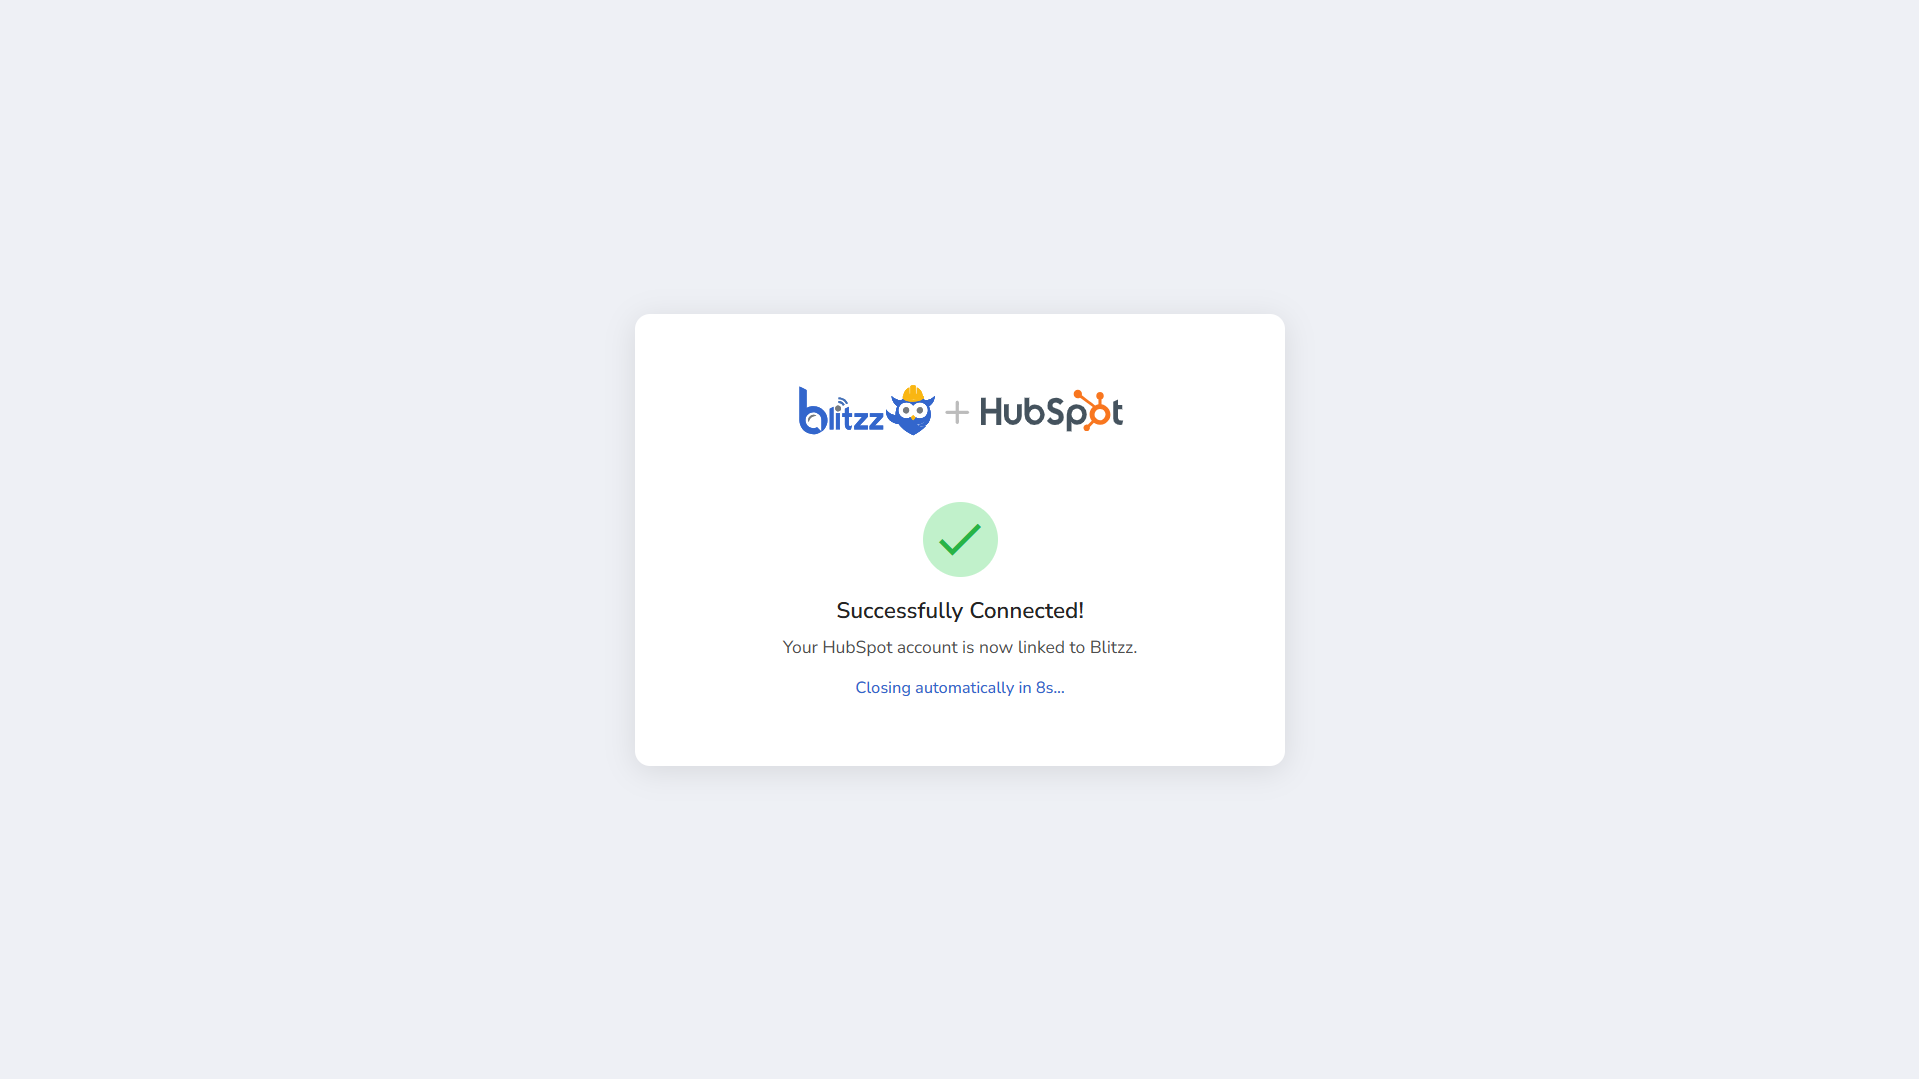
- Once connected successfully, you will see the message “Successfully Connected!” confirming that your HubSpot account is linked with Blitzz.
Step 3: Customize the Blitzz Visual Assist app view
- Navigate to Connected Apps and select the Blitzz Visual Assist app.
- Go to the App cards tab.
You can add the Blitzz Visual Assist app card to the middle column, help desk, preview sidebar, or right sidebar. Click Manage locations to choose where you want to add the Blitzz Visual Assist app card.

In the open sidebar, If you select Default view will add the card to the bottom of the chosen column or sidebar. To control the card’s position, click Customize.

Click Add card.

In the open sidebar, Go to the Card library tab, search for Blitzz Visual Assist, and click Add card.

The Blitzz Visual Assist app card is now added and visible in the selected location, Click Save.

Step 4: Test the Blitzz Visual Assist integration in HubSpot
- Navigate to CRM > Tickets from the left sidebar.
- Select any ticket.
- In the Blitzz Visual Assist app card, if multiple Collaboration Profiles are available, select a Collaboration Profiles and click Next. Otherwise, you will be redirected to the invite method screen.
- Select your invite method (e.g., SMS, WhatsApp, Email, or Copy URL). This can be configured from your Blitzz Admin Portal at {company-name}.blitzz.co.
Enter the Guest user’s phone number or email address, then click Invite & Join.

Step 5: View Blitzz Session History
To view all sessions created by you or your team directly within a CRM record, add the Blitzz Session History component to the desired CRM objects.
Steps:
- In HubSpot, navigate to Connected Apps and open Blitzz Visual Assist.
- Go to the App Cards tab.
- Locate the Blitzz Session History card.
- Click Manage locations.
- Select the CRM objects where you want the session history to appear (for example: Contacts, Companies, Deals, or Tickets).
- Save the changes.
Result:
Once added, the Blitzz Session History component will appear inside the selected CRM record pages and display all Blitzz sessions associated with that record, making it easy for your team to review past activity and session details.

If you run into trouble, or just need a little help, please contact us and we will be happy to help.